首先安装wsl和ubuntu
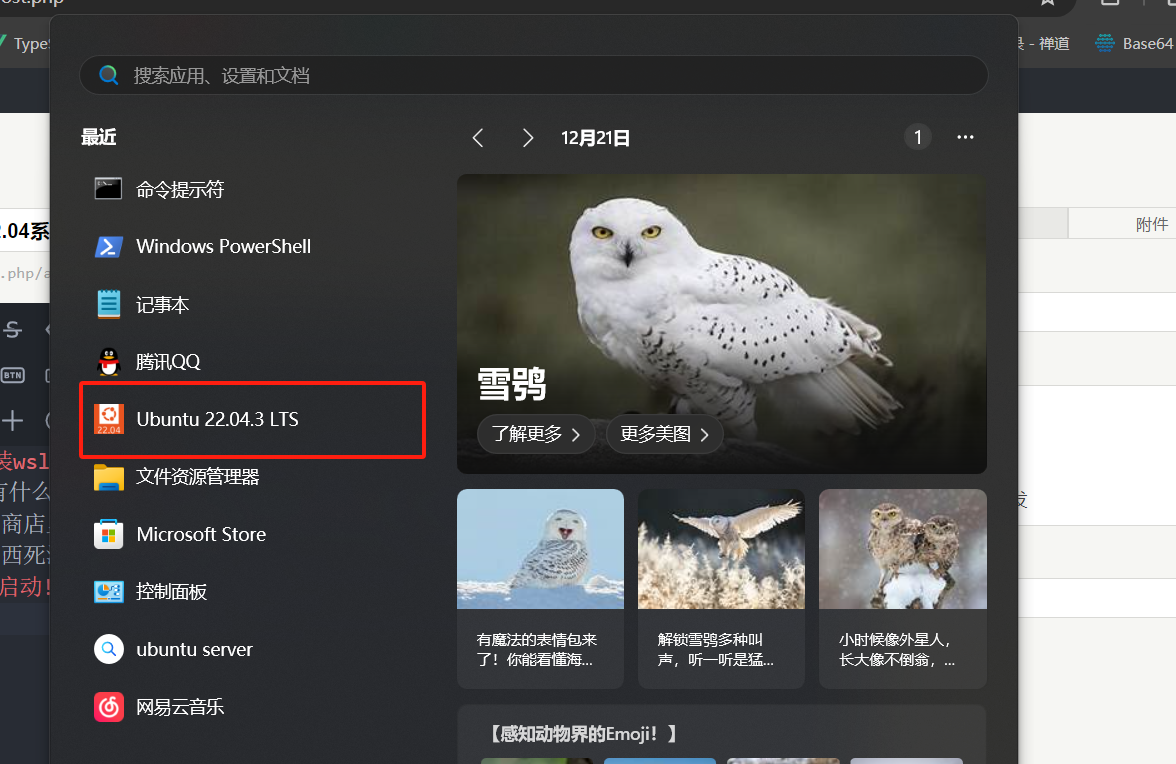
这个应该没有什么坑,不过只能高版本的win10或者win11才能装,我是直接在微软商店里下的,下好WSL后直接在商店里下Ubuntu就好了,这里我选的是Ubuntu22.04(本来是选的Ubuntu18.04,但是关于php的东西死活下载不下来就换了)
Ubuntu启动!
下载好后,直接在开始菜单点击这个图标就能启动了,第一次启动应该会让你填写账户名密码
安装nginx
sudo apt update
sudo apt install nginx
安装完成后你可以使用以下命令启动
sudo service nginx startsudo systemctl enable nginx //开机自启nginx
sudo service nginx stop //关闭nginx
sudo service nginx restart //重启nginx安装完成后,你可以通过访问本地服务器的IP地址或域名来测试Nginx是否安装成功。
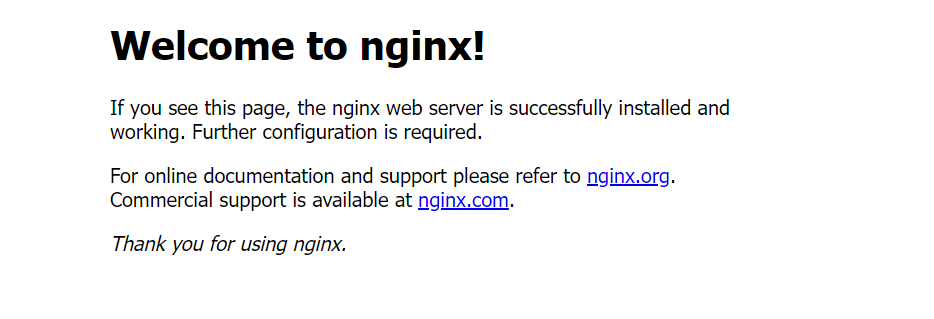
ip addr show eth0 | grep inet | awk '{ print $2; }' | sed 's/.*\///'这个命令返回虚拟机的ip地址,可以在windows的浏览器中打开,但是一般你输入127.0.0.1或者localhost就能访问,访问后出现下面的内容就代表nginx安装成功
你有可能看到的是apache的欢迎页,先不要急,有可能因为nginx指向的index.html内容就是apache欢迎页
安装PHP7.4
sudo apt-get install php7.4安装成功后安装php的拓展
apt-get install php7.4-fpm php7.4-dev php7.4-curl php7.4-bz2 php7.4-mysql php7.4-soap php7.4-zip php7.4-xml php7.4-gd php7.4-mbstring注意在Ubuntu22.04版本中可以直接选择对应版本进行下载,其他版本不知道,尤其是16.04和18.04版本,哪怕是按照网上教的sudo apt-add-repository ppa:ondrej/php 来添加源也不行
查看php-fpm状态,按q退出,看到active(running)就是启动了
sudo service php7.4-fpm status
代理php项目
在/etc/nginx/sites-available文件夹中创建nginx的配置文件名字随便
server {
    listen 80 default_server;
    listen [::]:80 default_server;
    # root /var/www/html;
    root /var/www/eztu/eztu/public;

    # Add index.php to the list if you are using PHP
    index index.php test.html index.html index.htm index.nginx-debian.html;

    server_name wsl.test;

    location / {
        # First attempt to serve request as file, then
        # as directory, then fall back to displaying a 404.
        # try_files $uri $uri/ =404;
        if (!-e $request_filename) {
            rewrite  ^(.*)$  /index.php?s=$1  last;
            break;
        }
    }

    # pass PHP scripts to FastCGI server

    location ~ \.php$ {
        include snippets/fastcgi-php.conf;
        # fastcgi_index  index.php;
        # With php-fpm (or other unix sockets):
        fastcgi_pass unix:/var/run/php/php7.4-fpm.sock;
        # With php-cgi (or other tcp sockets):
        # fastcgi_pass 127.0.0.1:9000;
        # fastcgi_param SCRIPT_FILENAME $document_root$fastcgi_script_name;
        # include fastcgi_params;
    }


}
生成软连接,如果只在available中生成配置文件的话,nginx是不知道这个配置的,所以需要再enabled生成一个占位符软连接到available中,以下代码会进行软连接并自动生成占位符文件(project是你的配置文件名),如果你使用远程连接等工具查看enabled文件夹下的文件的话,你会发现修改了available中的文件会使enabled的同名文件进行变化
sudo ln -s /etc/nginx/sites-available/project /etc/nginx/sites-enabled/project由于项目用的mysql是线上的,所以我没有装mysql,至此LNPM环境算是搭建好了

评论 (0)